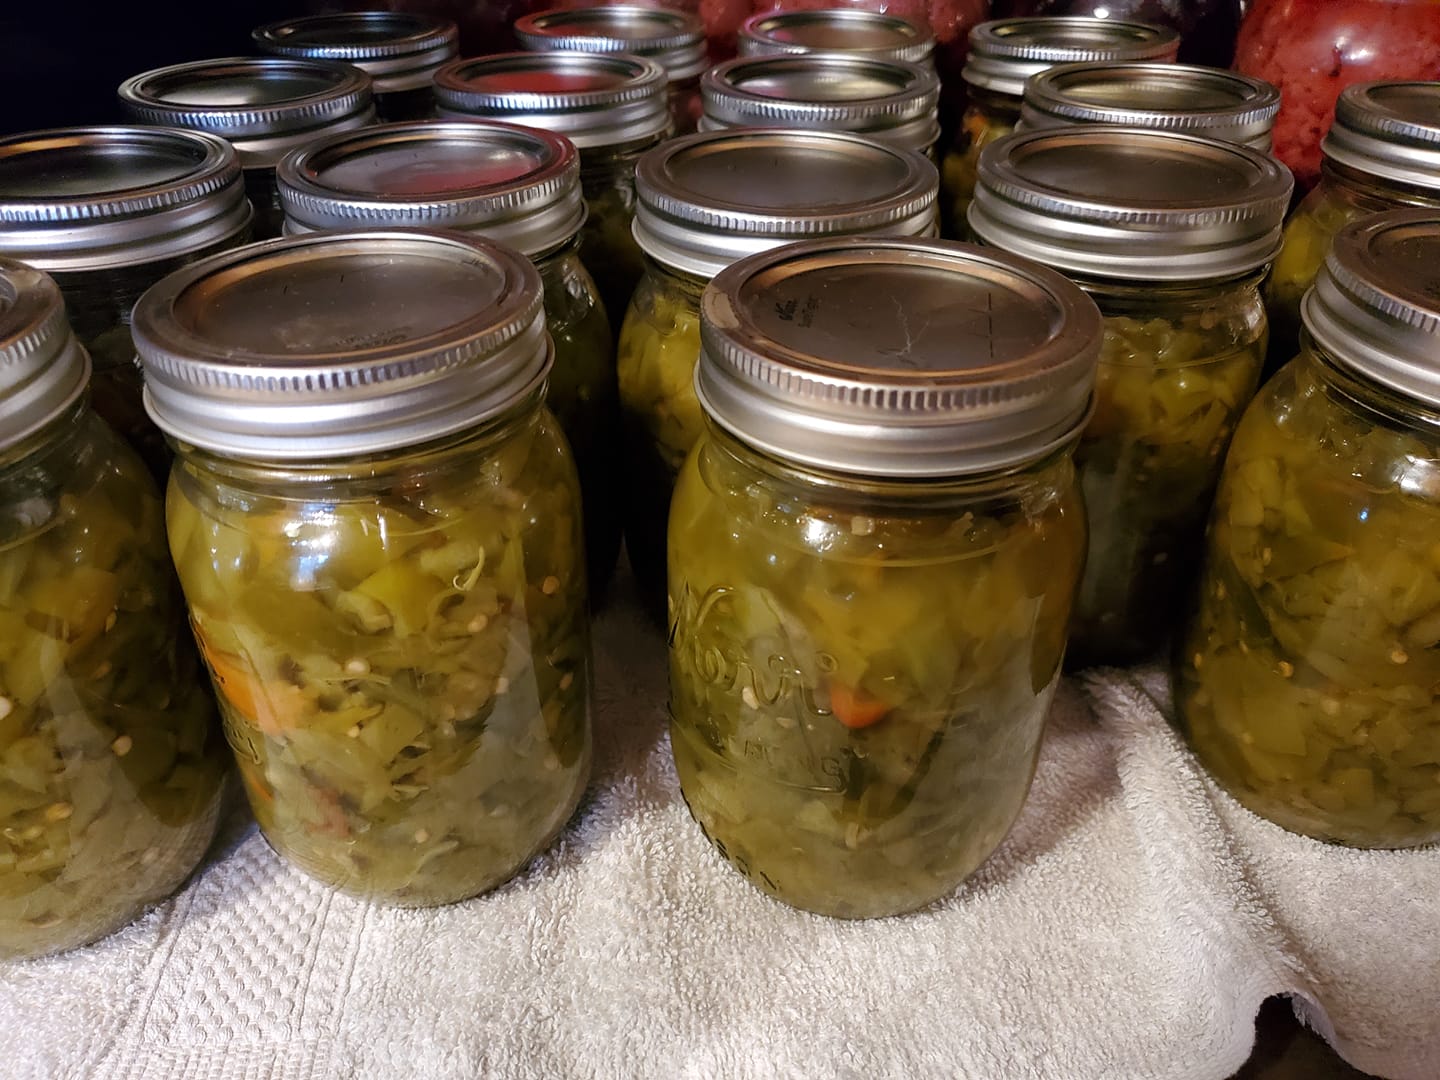
I use to freeze my chilies but since I am trying to get away from using the freezers so much (especially since one died the other day) I have started canning my chili. I love doing it this way, when I open a jar I use what I need then put the rest in the fridge, so I always have chili on hand without having to wait for it to thaw out since I seem to use it in almost everything I cook haha.
Canning roasted green chili is very easy but it does have to be pressure canned. Do not water bath chilies unless in a pickling solution high in vinegar
After you have roasted and peeled the green chili you can can them whole or chopped.
To can them chopped, take the chilies after you have peeled them. Put them into a food processor to chop. Or cut up by hand if you don’t have a food processer.
After you have chopped all the chilies put them into your sterilized jars you can add a little salt if you want. Then add hot water leave 1/2 an inch of headspace. You shouldn’t have to add much water as the chilis will have a lot of juice.
If canning whole just layer into your jars.
While you are putting the chili into jars boil your lids and rings for a couple of minutes ( If your lids have been in storage for a while boil them a little longer).
Put the lids and rings on the jars
Put about two quarts of water in the canner then put in the jars
If you are going to stack put the rack on top of the bottom jars
Put the rest of the jars in the canner
Put the lid on and turn on to high heat when it starts to steam let steam for about ten minutes then add the weight and bring pressure up to the recommended level for your altitude ( consult your canning manual) turn the heat down enough to maintain the correct amount of pressure for 35 minutes for pints and half-pints.
Take out of the canner and let sit until cool and all jars have sealed take rings off and store.
Tomorrow I will show you how to dehydrate green chili.
I look forward to your questions and comments so please feel free to leave a comment or question.


