This post may contain affiliate links. Please read my disclosure policy.
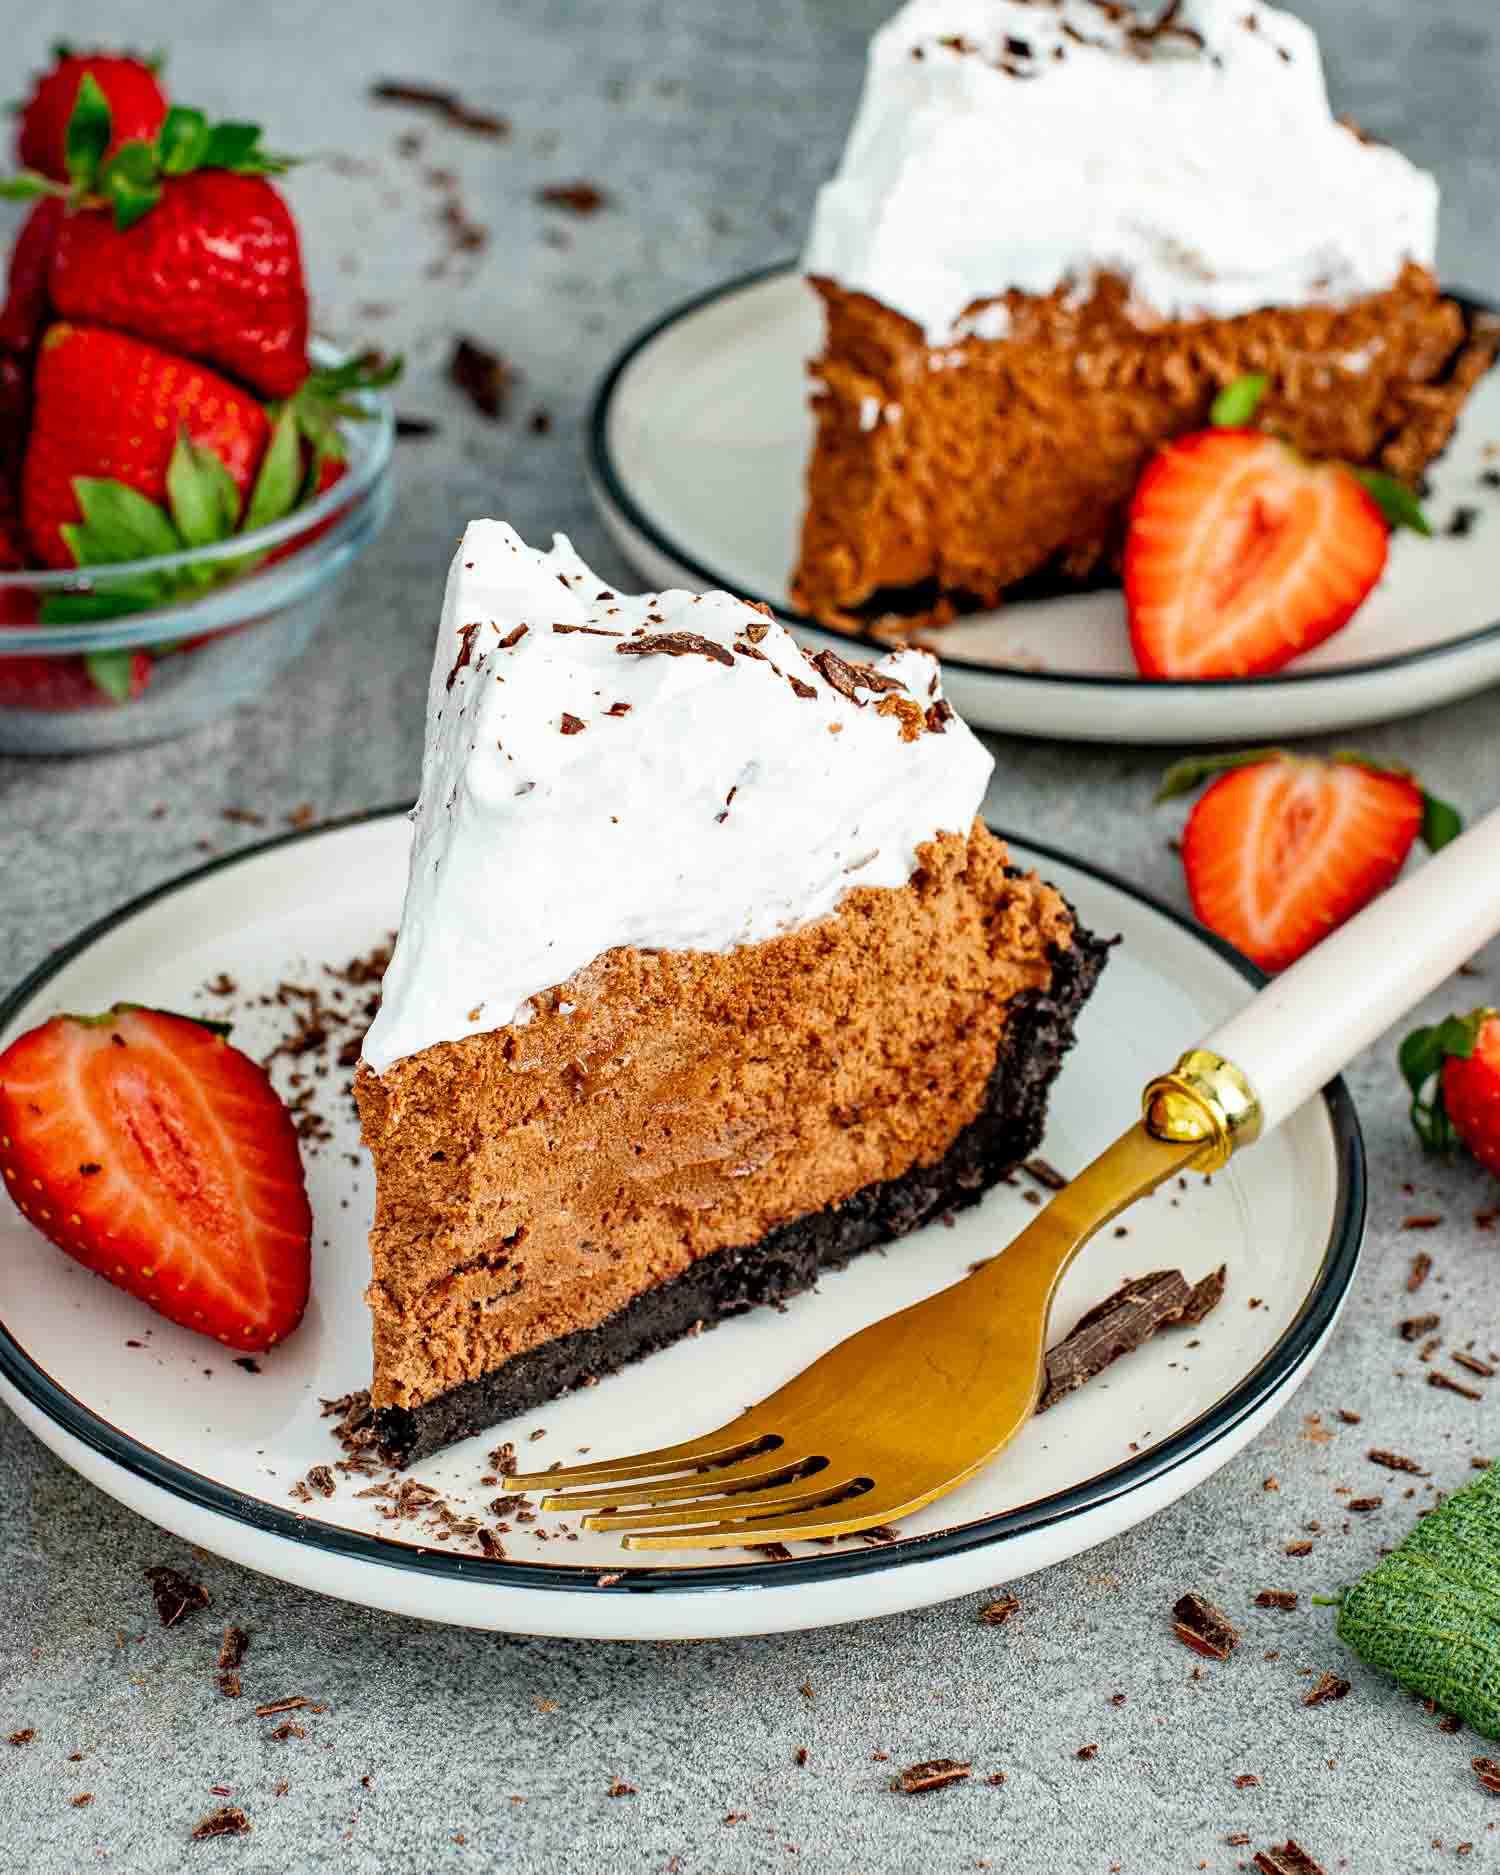
This French Silk Pie is simply irresistible. The smooth, creamy chocolate filling combined with the crisp Oreo crust creates a perfect bite every time. Whether it’s a special occasion or just a treat for yourself, this pie never disappoints.
Pin this recipe for later!
The Best French Silk Pie
When I first made this French Silk Pie, I knew I had stumbled upon something magical. The creamy, velvety chocolate filling is pure indulgence, nestled perfectly in a crunchy Oreo crust. Each bite melts in your mouth, leaving you craving more. Since then, I’ve made it numerous times, tweaking and perfecting it until it reached dessert perfection.
What makes this pie a standout is its luxurious texture and rich flavor. The combination of smooth chocolate and crisp Oreo crust is a match made in dessert heaven. It’s the kind of recipe that impresses guests and makes any occasion special. Trust me, once you’ve had a slice, you’ll be hooked.
Ingredients You’ll Need
Oreo cookies – These create a deliciously crunchy crust. You can substitute with graham crackers for a different flavor. Make sure to use the whole cookie, including the creamy filling.
Unsalted butter – Helps bind the crust and adds a rich taste. Salted butter can be used if that’s what you have on hand.
Heavy cream – Whips up to create a light and fluffy texture for the filling.
Bittersweet chocolate – Gives the pie its deep, rich chocolate flavor. You can use semi-sweet chocolate if you prefer a slightly sweeter taste.
Vanilla extract – Enhances the overall flavor, adding a warm, sweet note.
Large eggs – These are key for creating the silky, smooth texture of the filling.
Granulated sugar – Sweetens the filling just right.
Unsalted butter – Adds richness and helps achieve the perfect creamy consistency.
How To Make French Silk Pie
Preheat your oven to 350°F (175°C). Lightly grease a 9-inch pie dish. Combine the crushed Oreo cookies and melted butter in a medium bowl, mixing until the crumbs are evenly moistened. Press the mixture into the bottom and up the sides of the prepared pie dish. Bake for 8 minutes, then let it cool completely.
Whip The Cream And Melt The Chocolate
In a medium bowl, whip the heavy cream until stiff peaks form. Set it aside for later. This will give your filling a light and fluffy texture. Melt the chopped chocolate in a heatproof bowl set over a pot of simmering water or in the microwave in 30-second bursts, stirring until smooth. Stir in the vanilla extract, then set the mixture aside to cool slightly.
In a large heatproof bowl, whisk together the eggs and granulated sugar. Place the bowl over a pot of simmering water (double boiler style) and heat, whisking constantly, until the mixture is warm to the touch. Remove from heat and beat with an electric mixer for about 3 minutes, until light and fluffy.
Gradually add the softened butter to the egg mixture, a few pieces at a time, beating well after each addition. Slowly fold in the melted chocolate until fully incorporated. Finally, gently fold in the whipped cream until no streaks remain.
Pour the filling into the cooled Oreo crust. Smooth the top with a spatula and chill in the refrigerator for at least 2 hours, or until set. The hardest part is the wait, but once the pie has set, garnish with additional whipped cream and chocolate shavings and you’re ready to serve.
Frequently Asked QuestionsCan I use a different type of crust for this pie? Absolutely! While the Oreo crust adds a deliciously rich flavor, you can substitute it with a graham cracker crust or even a traditional pastry crust if you prefer. Just make sure to bake and cool it as directed. Is it safe to use raw eggs in this recipe? Yes, the eggs are gently cooked when heated with the sugar over simmering water. This process ensures the eggs reach a safe temperature while also contributing to the smooth, creamy texture of the filling. Can I make this pie ahead of time? Definitely! French Silk Pie is perfect for making ahead. Prepare the pie as instructed and store it in the refrigerator for up to 2 days. Add any garnishes just before serving to keep them fresh.
Expert Tips
Use room temperature ingredients – Ensure your eggs and butter are at room temperature for a smoother, creamier filling.
Whip the cream well – Beat the heavy cream until stiff peaks form to achieve a light and airy texture in the filling.
Cool the chocolate slightly – Let the melted chocolate cool a bit before adding it to the eggs and sugar to prevent curdling.
Press the crust firmly – Make sure to press the Oreo crust firmly into the pie dish to avoid any crumbling when slicing.
Chill thoroughly – Allow the pie to chill for at least 2 hours in the refrigerator to ensure it sets properly and achieves the perfect texture.
Storage
Store the French Silk Pie in the refrigerator, covered with plastic wrap or aluminum foil, for up to 3 days. If you want to freeze it, wrap the pie (without the whipped topping) tightly in plastic wrap and then in aluminum foil to prevent freezer burn. It can be frozen for up to 2 months; thaw in the refrigerator before serving.
Discover More Desserts
Before You Begin! If you make this, please leave a review and rating letting us know how you liked this recipe! This helps our business thrive & continue providing free recipes.
French Silk Pie
Prep 30 minutes minutesChill Time 2 hours hoursCook 8 minutes minutesTotal 2 hours hours 38 minutes minutes
This French Silk Pie features a creamy, velvety chocolate filling in a crunchy Oreo crust. It’s a decadent and indulgent dessert that’s perfect for any special occasion. Serve chilled for a deliciously smooth and satisfying treat.
Cook ModePrevent your screen from going dark
Before You Begin! If you make this, please leave a review and rating letting us know how you liked this recipe! This helps our business thrive & continue providing free recipes.
Instructions Preheat your oven to 350°F (175°C). Lightly grease a 9-inch pie dish.In a medium bowl, combine the crushed Oreo crumbs and melted butter. Mix until the crumbs are evenly moistened. Press the mixture into the bottom and up the sides of the prepared pie dish. Bake for 8 minutes, then cool completely.In a medium bowl, whip the heavy cream until stiff peaks form. Set aside.Melt the chopped chocolate in a heatproof bowl set over a pot of simmering water or in the microwave in 30-second bursts, stirring until smooth. Stir in the vanilla extract, then set aside to cool slightly.In a large heatproof bowl, whisk together the eggs and granulated sugar. Set over a pot of simmering water (double boiler style) and heat, whisking constantly, until the mixture is warm to the touch. Remove from heat and beat with an electric mixer for about 3 minutes, until light and fluffy. Add the softened butter, a few pieces at a time, beating well after each addition. Gradually fold in the melted chocolate until fully incorporated. Gently fold in the whipped cream until no streaks remain.Pour the filling into the cooled Oreo crust. Smooth the top with a spatula. Chill in the refrigerator for at least 2 hours, or until set.Garnish with additional whipped cream or chocolate shavings if desired. Slice and serve chilled.
Notes
Use room temperature ingredients for the best texture.
Chill the pie for at least 2 hours to ensure it sets properly.
Press the crust firmly into the pie dish to prevent crumbling.
Garnish just before serving to keep toppings fresh.
Store in the refrigerator for up to 3 days or freeze for up to 2 months.
Nutrition InformationServing: 1servingCalories: 799kcal (40%)Carbohydrates: 60g (20%)Protein: 7g (14%)Fat: 60g (92%)Saturated Fat: 35g (219%)Polyunsaturated Fat: 4gMonounsaturated Fat: 18gTrans Fat: 1gCholesterol: 185mg (62%)Sodium: 181mg (8%)Potassium: 309mg (9%)Fiber: 3g (13%)Sugar: 45g (50%)Vitamin A: 1481IU (30%)Vitamin C: 0.2mgCalcium: 64mg (6%)Iron: 7mg (39%)
Notice: Nutrition is auto-calculated for your convenience. Where relevant, we recommend using your own nutrition calculations.
Did You Make This?
We love seeing what you made! Tag us on Instagram at @jocooks or hashtag #jocooks so we can see your creations!
