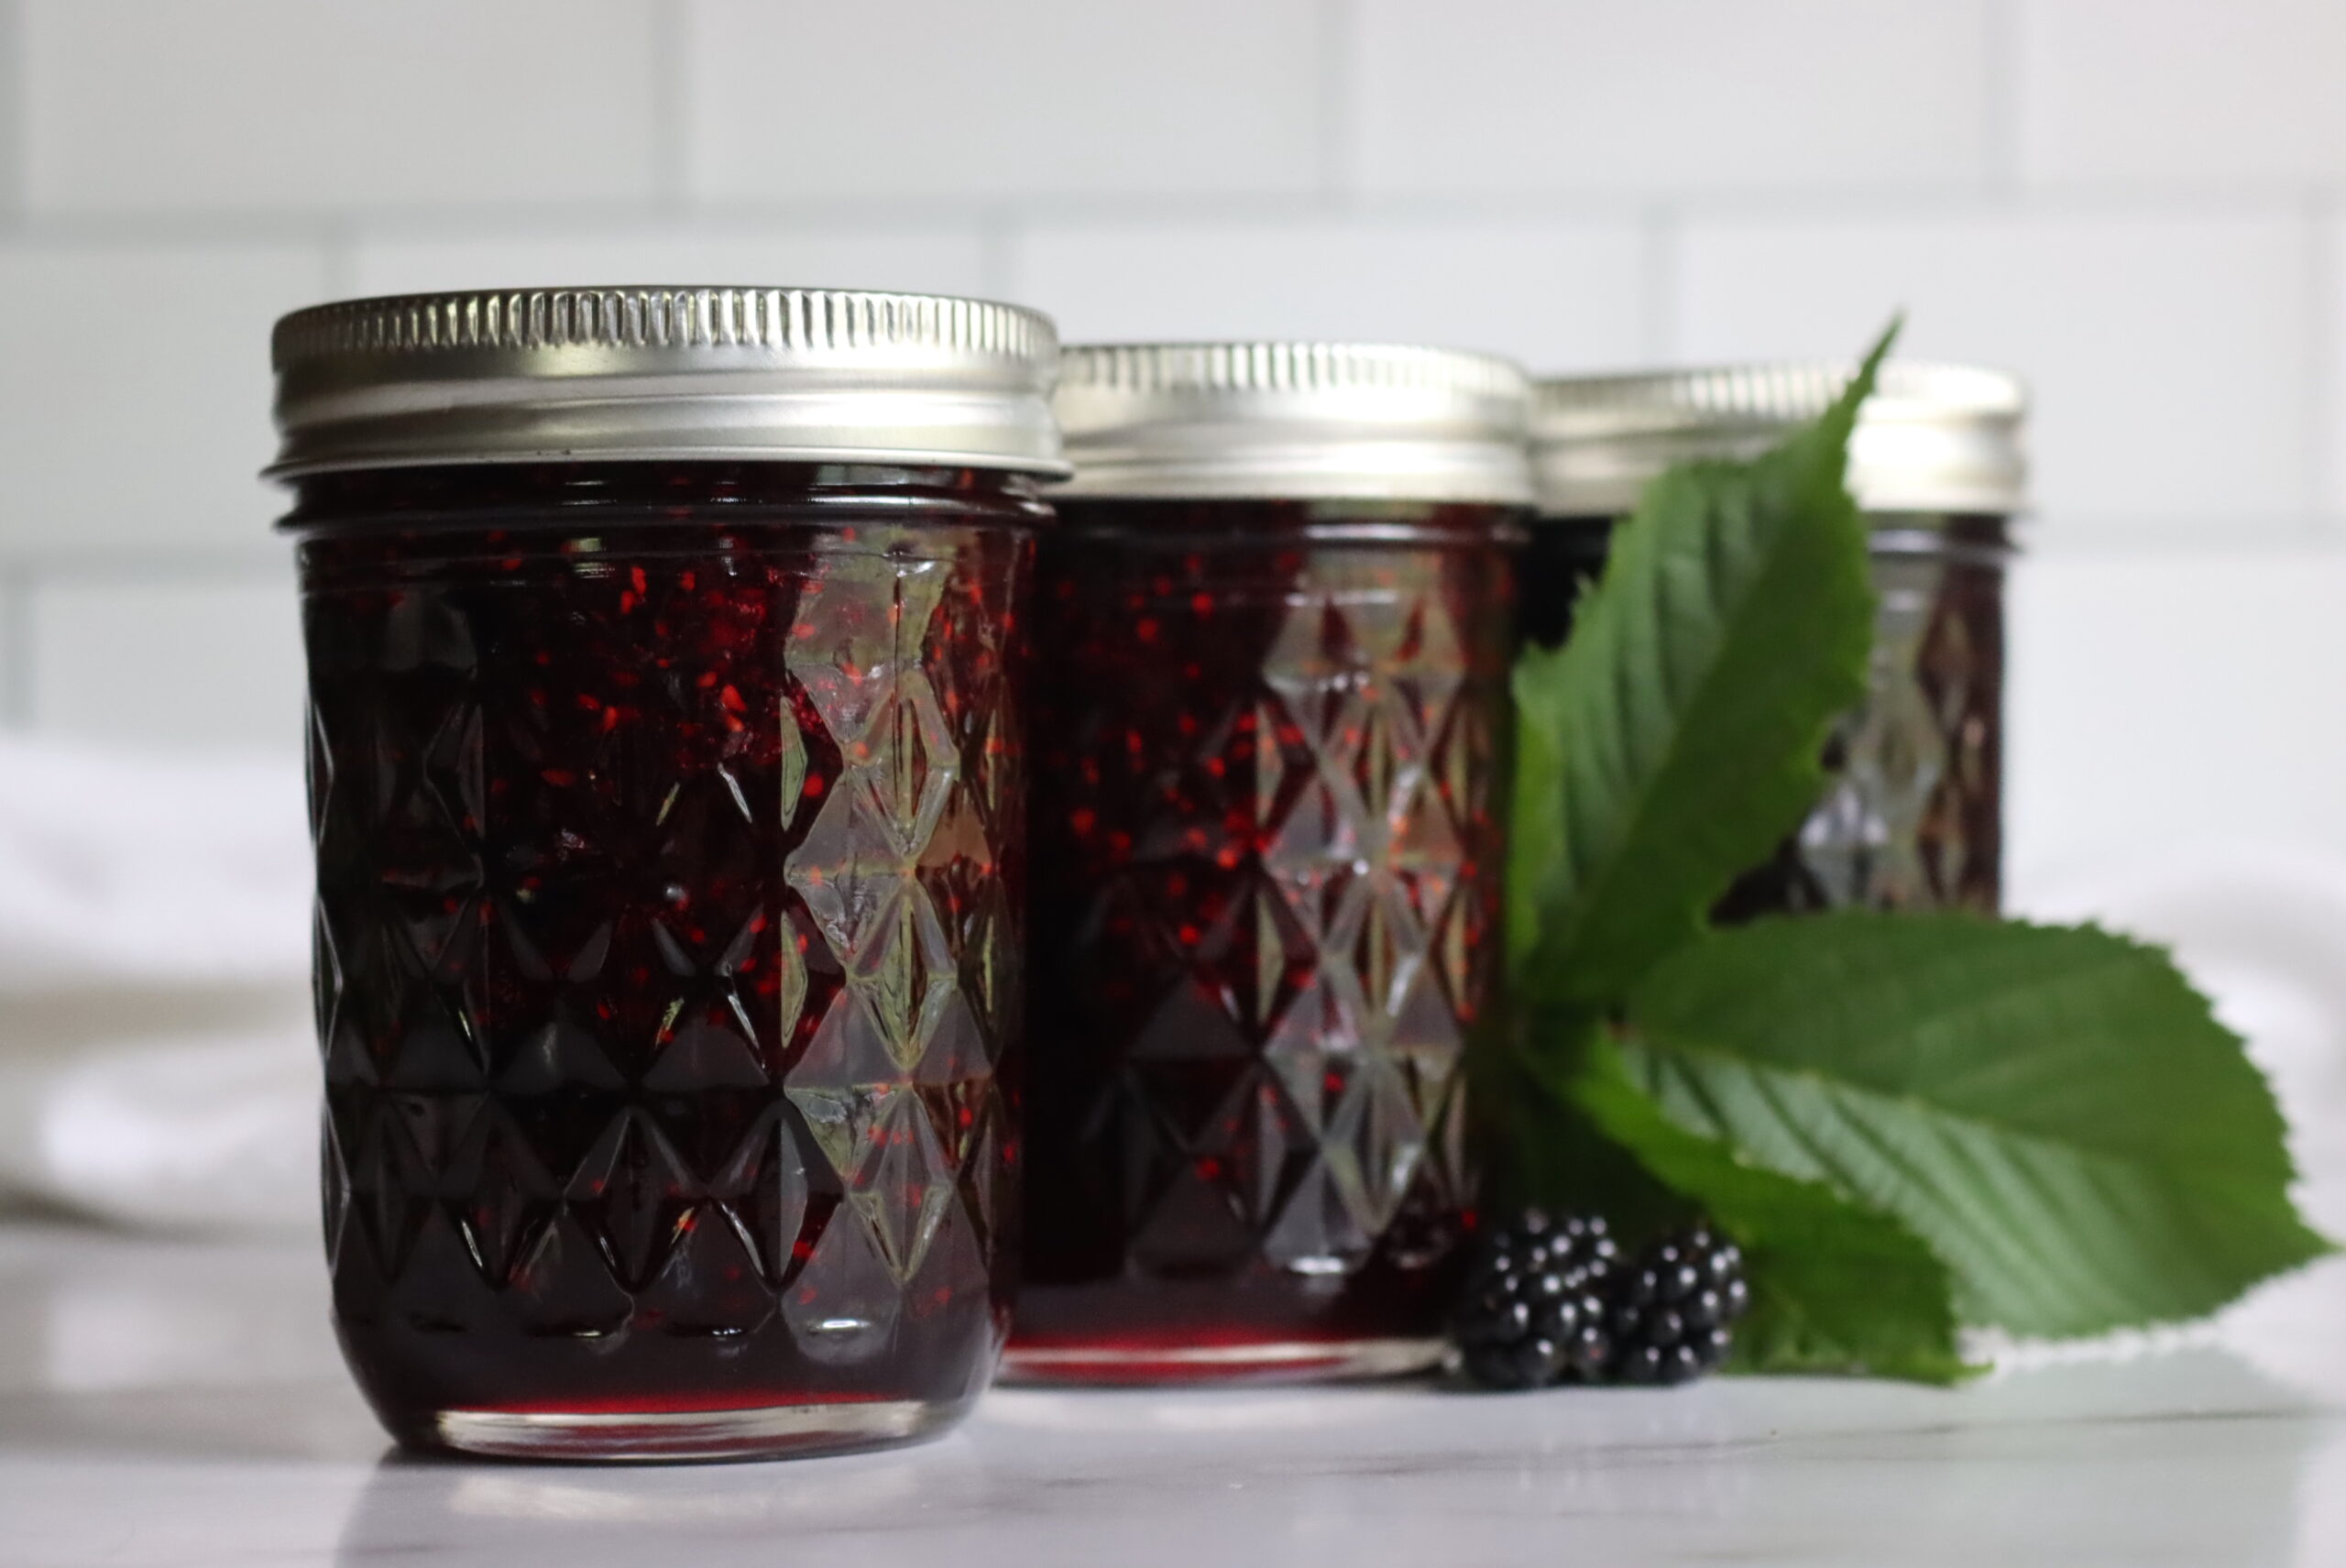
Blackberry jam is a summertime classic, and it’s easy to make it the old fashioned way without added pectin.
Blackberries are one of those fruits that come in by the bucketload, and it can be tricky to figure out how to preserve blackberries so they don’t go to waste. Sure, you can freeze them for pies, but there never seems to be enough freezer space to store them all!
Fresh old fashinoned blackberry jam without added pectin happens to be my husband’s absolute favorite jam, and my kids love it too. We slather it on top of biscuits all winter long, and can’t ever seem to get enough of it.
For us, it’s the perfect way to preserve blackberries!
Ingredients for Blackberry Jam
Blackberry jam is easy and delicious, and you can make fantastic jam without adding pectin or large amounts of sugar. To make 2 half-pint (8 oz.) jars, you will need the following:
4 cups fresh blackberries
2 cups granulated sugar
2 Tablespoons lemon juice (fresh or bottled)
If you have access to wild blackberries, they will produce the best blackberry jam. You can use store-purchased blackberries but try to make sure they are not overripe and becoming too soft. Use a few underripe ones if possible to give your jam a little pectin boost.
The more ripe the blackberry, the less pectin it has, and there are recipes for blackberry jam that have added pectin. But following this recipe will give you blackberry jam with a great consistency and no added pectin.
The lemon juice also contributes pectin and provides the correct acidity level for safe canning.
You may double this recipe but do not use more than 8 cups of blackberries, or your jam may not set.
How to Make Blackberry Jam
As you pick through the blackberries, check for good quality, ripe, or slightly underripe berries, and remove the stems and any leaves or debris mixed in with your harvest.
Place 4 cups of blackberries in a medium or large saucepan or jam pot. Using a potato masher or a large spoon, gently mash the blackberries.
Add 2 tablespoons of lemon juice. Do not add the sugar yet.
Start slowly cooking the blackberries with lemon juice over medium heat, stirring often.
Once the blackberries have started releasing more juices, you can increase the burner temperature to medium-high, stirring continuously and watching for scorching.
After 5-8 minutes, the blackberries should have cooked enough that you now have plenty of liquid and are ready to add the sugar.
Stir the 2 cups of sugar into your blackberry mixture, keeping the heat at medium-high or high until the mixture comes to a boil, stirring frequently.
Reduce the heat back to medium-high and boil the jam for approximately 15-20 minutes.
Foamy appearance of blackberry jam early on in the cooking. The bubbles will take on a more “glossy” appearance as it gets closer to finished.
You can test the jam for gel stage by using a candy thermometer or the cold plate method. Using a candy thermometer, cook the jam until it reaches 220° Fahrenheit.
To use the cold plate method to test for gel stage, have a couple of small plates or saucers in the freezer.
When you are ready to test your jam, take a plate out of the freezer, drop about a tablespoon of jam onto the plate, and then return it to the freezer for 1-2 minutes.
Remove the plate from the freezer again, and lightly push at the edge of the dollop of jam with your fingertip.
If the jam appears to have a “skin” on top or wrinkles when you gently push it, you know it has reached the gel stage.
If your finger slides right through it, then it is not ready yet, and you need to continue to cook your jam. Be patient and continue to be watchful for scorching! You may need to reduce the heat even more while the jam cooks and thickens.
Glossy appearance of bubbles as blackberry jam reaches its set point.
When the jam has reached the gel stage, ladle or pour it into prepared jars or containers, leaving ¼” of headspace at the top of each jar.
Wipe the rim of the container with a clean, damp cloth and put lids on your containers.
Canning Blackberry Jam
If you’re not canning blackberry jam, you can store the jars in the refrigerator and they’ll keep for about a month. You can also freeze blackberry jam, which will keep well for up to 6 months.
Canning allows you to store your delicious blackberry jam for up to 18 months or longer if safely canned and stored in your pantry or a cool, dry place.
If you’re new to canning, please read my beginner’s guide to water bath canning before you get started. Prepare a water bath canner and jars before you start cooking the jam.
Once the jam has reached the gel stage, carefully ladle the jam into the hot jars, leaving ¼” headspace at the top of the jar. A canning funnel with a headspace measurement on it makes this step easier.
Wipe the rims of the filled jars with a clean, damp cloth and apply 2-part canning lids. Tighten the band only to finger-tight.
Load the filled jars into your preheated canner and bring the canner to a full rolling boil. Once boiling, process the jars for 10 minutes (or 15 minutes if above 6,000 feet in elevation).
When the processing time has elapsed, turn off the heat and allow the jars to set in the water for an additional 5 minutes to prevent thermal shock.
Use a jar lifter to remove the jars from the canner and set them to cool on a towel on the counter, leaving some space between the jars for airflow. Check the seals on the lids after 24 hours and store any unsealed jars in the refrigerator for immediate use.
Store your canned jam in your pantry or other cool, dry place. It will maintain good quality on the shelf for about 18 months but will still be good after that as long as the jar remains sealed. Refrigerate after opening.
Blackberry Jam Variations
Any other berry will combine well with blackberries to make a flavorful berry jam blend. Fruits such as raspberries and strawberries make excellent jams, and adding blackberries gives those traditional jams a nice twist.
Flavorings such as vanilla, cinnamon, or almond add a subtle hint of flavor to your jam.
Ways to Use Blackberry Jam
Blackberry jam is delicious served on top of a white cake or shortbread with whipped cream. It also makes a great topping for cheesecake or ice cream.
Your favorite bread, toast, croissants, English muffins, or biscuits will be tastier with a big spread of blackberry jam.
Spoon blackberry jam on top of your favorite muffin.
Yield: Makes 2 half-pint (8-ounce) jelly jars
Old Fashioned Blackberry Jam (No Added Pectin)
Prep Time:
10 minutes
Cook Time:
30 minutes
Additional Time:
10 minutes
Total Time:
10 minutes
Homemade blackberry jam is a great way to preserve blackberries and this old fashioned recipe comes together without added pectin.
Ingredients
4 cups of fresh blackberries
2 cups granulated sugar
2 Tablespoons lemon juice
Instructions
Pick through your blackberries carefully, remove the stems, and rinse your berries with clean water. Place the blackberries into a medium or large saucepan. Use a large spoon or potato masher to gently mash the blackberries. Add 2 tablespoons of lemon juice.Cook the berries over medium heat, stirring often to prevent scorching while the juices are released from the berries.Once the blackberries and lemon juice have created a significant amount of juice, add the sugar, stirring to dissolve.Turn the heat up to medium-high, and continue to stir and watch to prevent scorching.Cook the jam until it has reached the gel stage, which should be approximately 20 minutes or a little longer.Test the jam to see if it has reached the gel stage by using the cold plate test, or until the temperature reaches the gel stage at 220° F on a candy thermometer.Ladle or pour the jam into prepared jars or containers.Preserve the jam by using a hot water bath canning method, or, after the jam has cooled, keep the jam refrigerated or frozen until ready to eat.
Notes
*Note: This recipe may be doubled, but do not use more than 8 cups of fruit or the jam may not set properly.
Blackberry Canning Recipes
Looking for more ways to preserve blackberries?

